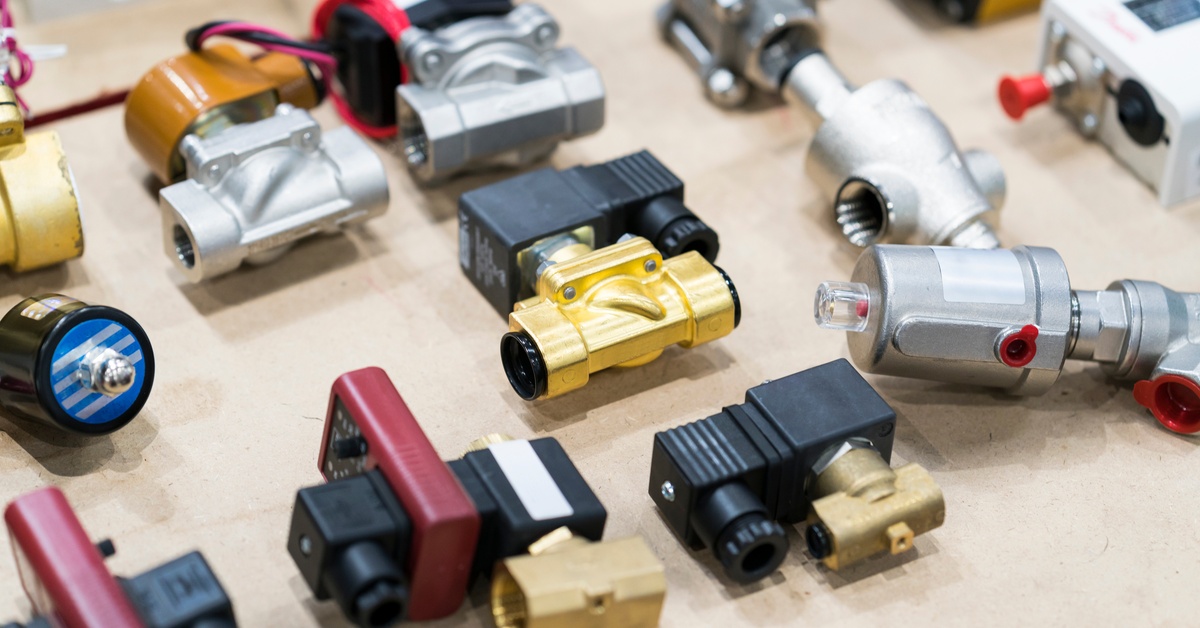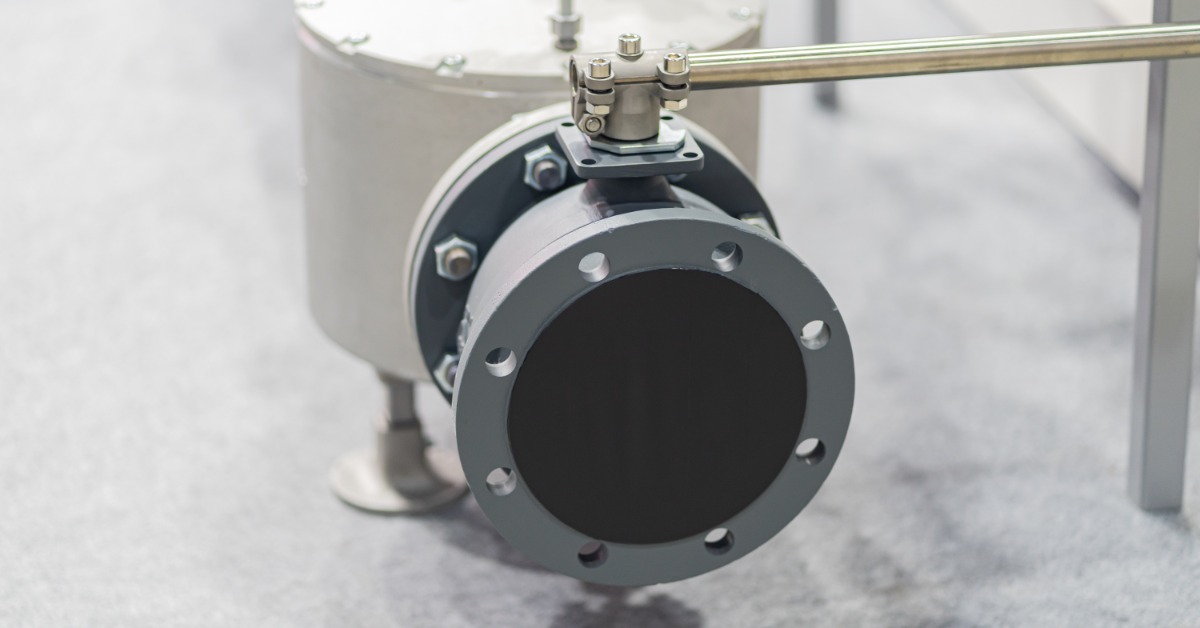
Solenoid valves may perform a straightforward action, but they can serve an important role within a much larger fluid system. When you need electrical control over the movement of a liquid or gas, a solenoid valve lets you manage that flow without manually operating the valve. Exploring solenoid valve capabilities and what they control helps you see where this technology fits into industrial equipment. It also gives you a stronger foundation for evaluating a valve based on what your application requires.
Control Starts With Flow
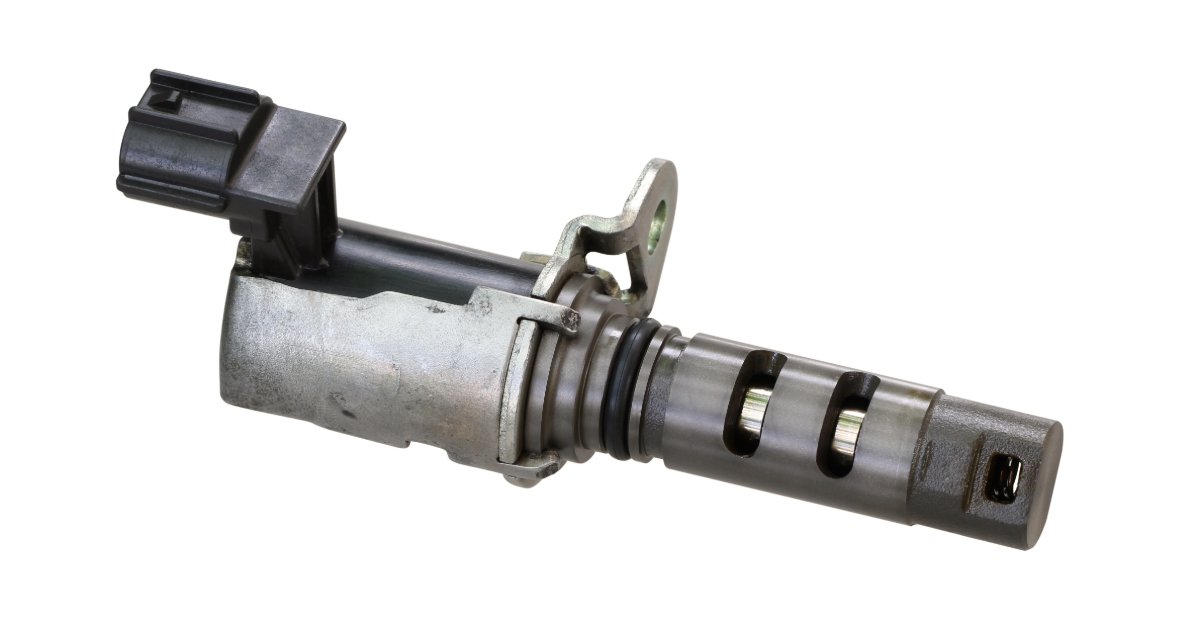
When you energize a solenoid valve, electrical current creates a magnetic field within the coil. That magnetic force moves an internal component, changing the valve’s position and controlling the flow path. Once you remove electrical power, a spring or another return mechanism may move the valve back to its normal position, depending on its configuration.
This operating principle gives you a practical way to control fluid movement through an electrical signal. You can integrate that action into equipment where the valve needs to respond to a control system rather than manual input. However, the valve still must match the medium and operating conditions it will encounter.
Open and Closed Flow
One of the most common applications involves switching flow on or off. In this arrangement, you send an electrical signal when you want the valve to change position. The valve then opens or closes its flow path according to its configuration.
This type of control works well when an application requires a defined change in flow rather than continuous adjustment. As a result, you can connect valve operation with other electrical controls in the system. You’ll still need to consider the valve’s normal position because that determines its state when the coil doesn’t receive power.
Choose the Normal Position
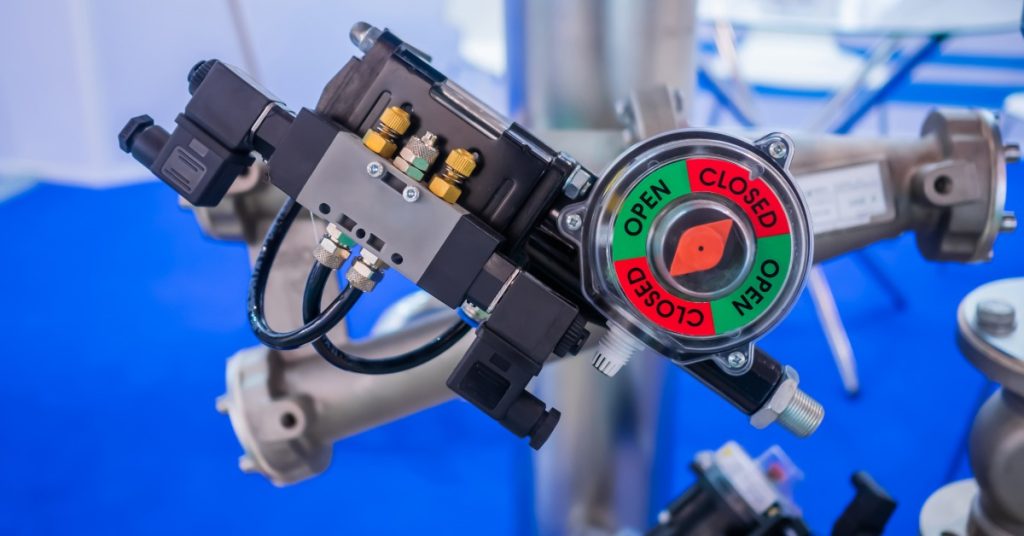
A solenoid valve’s normal position tells you what happens when you don’t energize its coil. A normally closed valve blocks its flow path in that state, while a normally open configuration permits flow. Your application determines which arrangement makes sense.
As you compare solenoid valve capabilities and what they control, consider what you need the system to do when electrical power isn’t present. That question helps you evaluate the operating configuration rather than treating the valve as a simple electrical switch. It also helps you determine whether the valve fits the equipment’s intended operating sequence.
Normally Closed Operation
If you choose a normally closed valve, the valve remains closed while its coil stays de-energized. Applying the required electrical power changes its position and allows the intended flow. Removing that power returns the valve to its normal closed state.
You may choose this configuration when you want the flow path closed whenever the coil isn’t energized. However, you still need to evaluate the complete application rather than relying on normal position alone. Pressure conditions and valve construction affect whether a particular model suits the job.
Work With System Pressure
Pressure plays a central role in valve selection because each valve has defined operating limits. You need a valve that can function under the expected pressure conditions rather than choosing one based primarily on port size. This consideration becomes especially important in demanding industrial systems.
As you evaluate pressure requirements, review the factors that affect whether a valve can operate properly in your system, including:
- The valve’s stated maximum operating pressure
- The pressure differential required for proper operation
- The relationship between the valve’s pressure rating and actual system conditions
- The effect of system pressure on the valve configuration you select
- The manufacturer’s specified operating limits
Control High-Pressure Flow
High-pressure service places greater demands on a valve than many general-purpose applications. If your system operates under elevated pressure, you need components with suitable pressure ratings and construction for those conditions. This is where a high-pressure solenoid valve manufacturer like Clark Cooper can help. We produce valves that provide electrically actuated flow control within specified high-pressure operating ranges.
You shouldn’t select a high-pressure valve based on pressure rating alone. The fluid or gas moving through the valve also influences which materials and internal construction suit the application. Therefore, compare the valve specifications with the actual service conditions when evaluating your options.
Match the Materials to Media
You also need to consider what will pass through the valve. Valve body and seal materials must remain compatible with the intended medium under the expected operating conditions. Checking material compatibility during selection helps you avoid choosing a valve that isn’t suitable for the application.
Direct Flow Paths
Some applications require more than opening or closing a single flow path. Depending on its port configuration, a solenoid valve may redirect the medium through a different flow path when it changes position. This capability lets you use an electrical signal to control where the medium flows within the system.
You can evaluate this type of flow control by reviewing several application details, including:
- Where the medium needs to enter the valve
- Where the flow should travel after actuation
- The number of ports the application requires
- The valve’s specified flow-path configuration
- The relationship between valve operation and the intended system sequence
Multiple Port Use
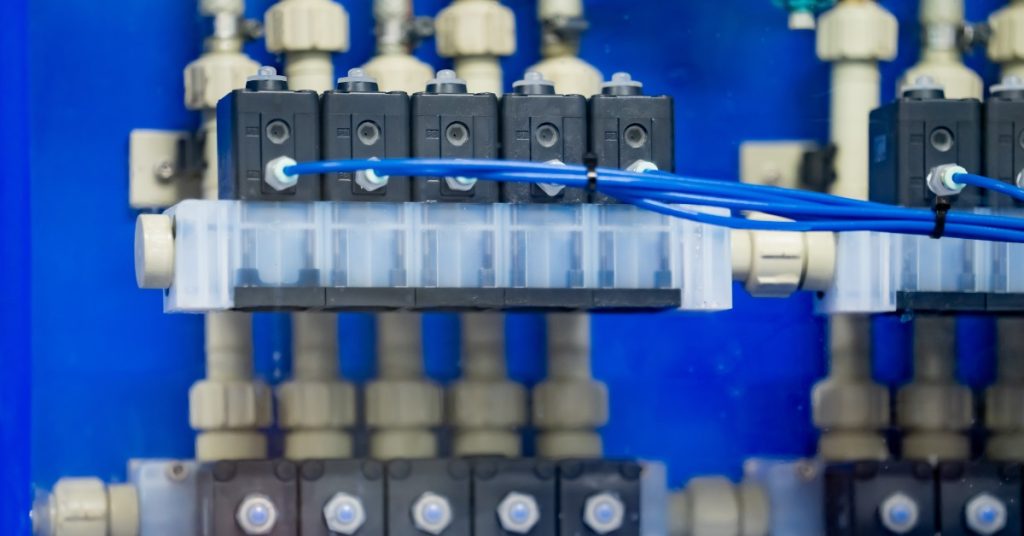
When you work with a multi-port valve, pay close attention to the relationship between each port and valve position. Energizing the coil may connect one flow path while closing or redirecting another, depending on the valve configuration. Therefore, the number of ports alone doesn’t tell you exactly what the valve will do. You need to review the specified flow paths for each operating state.
Consider Flow Capacity
You’ll also need enough flow capacity for the intended service. A valve that opens correctly still needs enough capacity to handle the required flow within its specified operating range. Manufacturers provide flow information that helps you compare valve options. Comparing those specifications with your flow requirements helps you select a valve that suits the system.
Select for the Application
Solenoid valves give you a practical way to control fluid or gas movement through an electrical command, but their capabilities depend on their construction and operating limits. When you evaluate a valve, connect its pressure rating and flow characteristics to the service conditions it will encounter. That approach helps you move beyond the basic question of whether a valve can open or close.
Clark Cooper specializes in high-pressure solenoid valves for demanding industrial applications and can help you evaluate options when standard valves don’t match your operating requirements. If you’re evaluating a high-pressure application, contact us to discuss the conditions your valve needs to handle.



![How To Test a Solenoid Valve [A Step-by-Step Guide]](https://clarkcooper.com/CCblog/wp-content/uploads/2026/07/clarkcooper-461995-pneumatic-machine-tubes-blogbanner1.jpg)