Rotary valves meter and isolate bulk solids in pneumatic conveying and dust collection. They regulate feed rate, maintain pressure differentials, and protect downstream equipment. However, a small misalignment or a minor leak can snowball into lost throughput and worn parts.
Below we’ve outlined fast, proven checks and fixes to keep your system stable and productive. You’ll also get maintenance routines that reduce repeat failures. Use our rotary valve troubleshooting guide to keep your system working correctly.
Identify the Cause of Inconsistent or Low Material Flow
Inconsistent or low material flow is one of the most common issues with rotary valves and often signals underlying problems such as irregular pocket fill, air leakage, or rotor drag.
Examine the hopper level and head pressure, as insufficient feed or pressure can starve the valve and reduce output. After doing this, confirm the valve’s RPM with a tachometer to ensure it is operating at the correct speed; incorrect speed can lead to under- or over-filling pockets.
Clear Rotor Drag, Binding, or Seizing
Rising motor amperage, hot endplates, squealing, or a burnt smell are signs that the rotor is experiencing drag or rubbing, which can cause premature wear on both the rotor and bearings. Drag often results from misalignment, uneven endplates, tight shims, or bearing issues, and damage to the debris or on rotor tips can worsen it.
Measuring shaft runout with a dial indicator can reveal subtle misalignment, while inspecting rotor tips highlights galling or wear patterns that reduce efficiency. Proper clearances and even torque on the housings allow the rotor to spin smoothly, and aligned bearings ensure the load is distributed evenly.
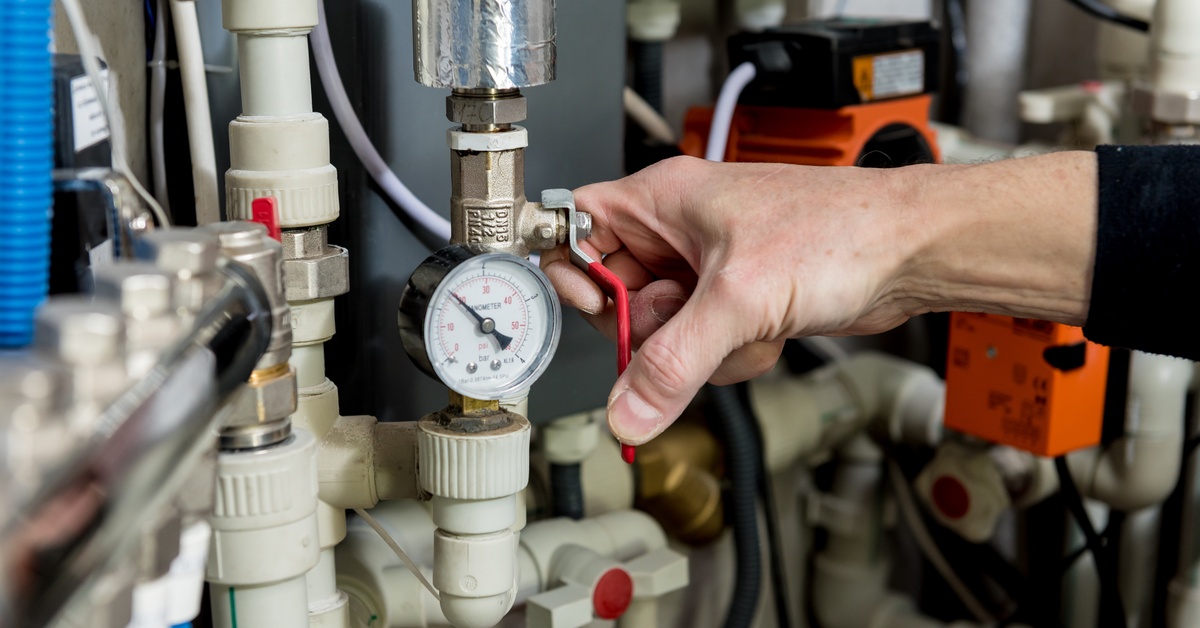
Stop Air Leaks and Restore System Pressure

Air leaks can significantly reduce conveying efficiency and starve downstream processes, even when the valve itself appears to be operating correctly. Leaks often occur around endplates, shaft seals, access covers, and flange joints. Even small gaps can allow backflow, undermining system pressure.
Air leaks reduce conveying efficiency and can starve downstream processes. Most leaks occur around endplates, shaft seals, access covers, and flange joints, where even small gaps allow air to bypass the rotor pockets. Proper compression depends on evenly tightened fasteners and correctly seated gaskets. Maintaining correct rotor-to-housing clearances prevents backflow, and checking differential pressure afterward ensures the system operates as expected.
Pro Tip
You can detect leaks by carefully listening for hissing, using a simple soap solution to reveal escaping air, or utilizing a more advanced ultrasonic leak detection.
Reduce Excessive Wear and Material Damage
Abnormal wear patterns reveal the underlying issues in a rotary valve. One-sided endplate wear often signals misalignment, while feathered rotor tips suggest abrasive fines or overly tight clearances. Understanding the media characteristics and confirming that the valve’s materials match the application helps prevent premature damage.
Moreover, you can harden the flow path or use coated rotors when handling abrasive products. Lowering RPM reduces shear and heat, and adding venting or a bypass limits pressure jets across rotor tips and pockets, keeping the valve operating efficiently and extending component life.
Correct Motor Overload or Overheating
Trip events, hot casings, and rising amperage are signs of motor overload, which can quickly damage components if left unaddressed. These often result from issues like misaligned belts or chains, improper coupling alignment, or incorrect voltage and VFD settings.
To prevent further damage, clear jams immediately, as a stalled rotor creates extreme stress on tips and seals. Reducing valve speed, improving upstream feeding, and eliminating rotor rubbing help lower system stress. Finally, compare the running amperage to the motor nameplate and confirm that the drive size and service factor are appropriate for the application. This ensures reliable performance under normal operating conditions.
Remove Product Buildup and Prevent Jamming
Sticky or moist materials tend to cake near the inlet and along pocket edges, potentially blocking flow and reducing efficiency. Regularly clean the housing and rotor with approved tools, then dry the interior.
You should also add an internal polish or nonstick surface wherever possible, as this helps minimize buildup. Additionally, controlling temperature and humidity helps prevent condensation, and installing purge air at the endplates can keep material moving.
Fix Valve Performance After Material Changes
Changes in bulk density, moisture, particle size, or abrasiveness can throw off valve performance. Recalculate the target feed rate based on pocket volume and expected fill to maintain consistent output. Adjust RPM, venting, and upstream conditioning as needed, and consider switching tip materials or profiles for harder or sharper particles. Always validate changes with a short trial or timed catch test to confirm the valve feeds correctly.
Verify Correct Valve Speed and System Integration
Valve speed has a major impact on system stability. Excessive RPM can shear product and lift the airlock, while insufficient speed may starve the line and disrupt flow. Comparing the actual RPM to the required throughput and pocket volume highlights operational issues.
Moreover, tracking discharge over time confirms whether the feed rate is consistent. Aligning valve capacity with blower airflow and system pressure ensures smooth operation, and coordinating settings with upstream feeders allows the valve to meter material gently rather than forcing it.
Maintenance Tips That Reduce Future Troubleshooting
Another big part of a rotary valve troubleshooting guide is knowing how to maintain your components so that issues don’t keep recurring. Preventive maintenance reduces downtime, protects equipment, and ensures consistent throughput. Focus on key areas and make inspections a regular part of your routine.
Inspect Rotor Clearances Regularly
Regularly measuring radial and end clearances prevents small drifts from turning into leaks or rubbing that can damage tips and endplates. Shiny rub marks, dust streaks, or hot spots often reveal early contact. Adjusting shims and correcting alignment keeps the rotor running smoothly and prolongs component life.
Lubricate Bearings on a Consistent Schedule
Proper lubrication maintains bearing health and prevents premature wear. Follow the manufacturer’s intervals and use the correct grease, purging old material without overpacking. Tracking temperature and vibration confirms that the bearings run cleanly and maintain a healthy lubricant film.
Replace Worn Parts Before They Fail
Proactively replacing tips, seals, and bearings avoids unplanned downtime and costly failures. Keep a stock of parts that match your valve and swap components that are at wear limits rather than waiting for complete failure. Monitoring run hours and wear rates ensures replacements align with actual operational demands.
Buy Quality Valves
Rotary valves run reliably when you attack root causes fast and keep clearances, seals, and speed in check. A short list of disciplined checks prevents repeat failures and protects throughput. Clark Cooper is a rotary valve manufacturer offering various options, including two-way and three-way valves. Reach out to our rotary valve manufacturer for application guidance and options that fit harsh fluids or gases.
Leave a Reply