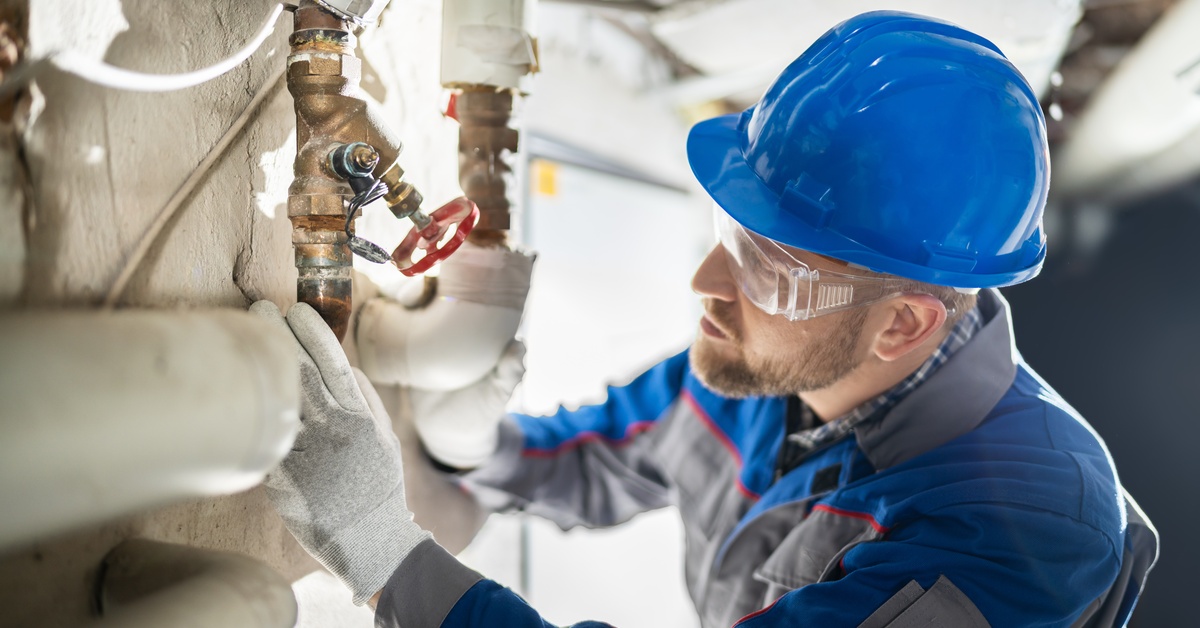
Solenoid valves control fluid flow in countless industrial applications, from simple water systems to complex hydraulic networks. These electromagnetic devices open and close automatically when energized, making them crucial components in automation systems. As a result, knowing how to troubleshoot your solenoid valves when problems arise becomes critical. This guide walks you through a systematic diagnostic process to identify and resolve the most common solenoid valve issues.
Check the Power Supply
Power supply issues are a major cause of solenoid valve failures. Your valve requires the correct voltage type (AC or DC) and proper amperage to function reliably. Use a multimeter to measure voltage directly at the coil terminals while the system attempts to energize the valve.
You should also compare your readings with the manufacturer’s specifications printed on the valve nameplate. If the voltage is too low, it won’t generate enough magnetic force to actuate the plunger. Conversely, excessive voltage can damage the coil windings and create heat buildup.
Inspect the Coil
Coil problems can cause complete valve failure or intermittent operation. Some issues are visible, such as burned insulation, cracked housings, or heat discoloration, which can be spotted during a visual inspection. However, many coil failures occur internally and require electrical testing to detect.
Use an ohmmeter to measure the coil’s resistance and compare it to the manufacturer’s specifications. Infinite resistance indicates an open circuit (broken wire), while zero or very low resistance suggests a short circuit. Either condition means the coil should be replaced.
Additionally, monitor the coil’s operating temperature during normal use. Excessive heat often precedes coil failure and may indicate voltage problems or mechanical binding that increases current draw.
Test the Manual Override
Most solenoid valves include a manual override feature that bypasses the electromagnetic mechanism. This simple test quickly and effectively separates electrical problems from mechanical issues. Push or turn the override mechanism to manually open or close the valve.
If the valve operates smoothly with manual override but fails electrically, focus your troubleshooting on the coil and electrical connections. On the other hand, difficulty or inability to operate the valve manually usually points to mechanical issues, such as contamination or worn parts.
Check for Debris or Contamination

Another tip for troubleshooting solenoid valves is to check for debris since contamination ranks among the leading causes of solenoid valve problems. Dirt, rust particles, or chemical deposits can prevent the plunger from moving freely or block fluid passages. System contamination often occurs gradually, causing valves to become sluggish before failing.
Safe disassembly requires proper lockout/tagout procedures and system depressurization. Remove the valve from service and carefully disassemble it according to the manufacturer’s instructions. Inspect all internal components for foreign material, corrosion, or chemical buildup.
As you check for debris, clean the components with appropriate solvents that won’t damage seals or metal surfaces. You should also replace any damaged seals or O-rings during reassembly, as contamination often degrades these critical components.
Inspect the Plunger and Spring
The plunger assembly converts electromagnetic force into mechanical valve movement. Corrosion, pitting, or scoring on the plunger surface creates friction, preventing smooth operation. The spring forces the plunger to return, ensuring the valve closes when power is cut.
Remove the plunger assembly and examine all surfaces under good lighting. Small imperfections can cause binding, while severe damage requires component replacement. Check the spring for proper compression, cracks, or permanent deformation that reduces return force.
Pro Tip
Consult the manufacturer’s documentation before applying any lubricants, as some requirements vary by valve design and application. Some valves operate dry, while others need specific lubricants to function properly.
Verify Fluid Pressure and Flow
Pressure-dependent valve designs require a minimum operating pressure to function correctly. These valves use system pressure to assist valve operation, and low pressure prevents proper actuation. Check your system pressure against valve specifications during troubleshooting.
Flow direction also affects certain valve types. For example, reversing the flow can cause a malfunction in valves designed for unidirectional operation. You should always verify that fluid flows in the correct direction through the valve body.
Some applications experience pressure spikes that exceed valve ratings. These transient conditions can damage internal components even though normal operating pressure appears acceptable.
Check for Air Traps in Liquid Systems
Air trapped in liquid systems creates compressible pockets that interfere with valve operation. These air bubbles compress when pressure increases, preventing the transmission of force needed for proper valve actuation. The problem becomes more pronounced in vertical installations where air naturally accumulates.
Moreover, system bleeding removes trapped air through high points or dedicated bleed valves, and some systems require multiple cycles to eliminate all air pockets. Monitor the process carefully, as excessive bleeding can introduce new air through connections.
Pro Tip
Persistent air problems often indicate leaks in suction lines or other system components.
Examine Electrical Connections
Corroded or loose electrical connections create resistance, reducing current flow to the solenoid coil. This resistance generates heat and reduces the magnetic force available for valve actuation. Generally, terminal corrosion appears as white, green, or brown deposits around connection points.
Preventing This Issue
Clean corroded connections with a wire brush or sandpaper, apply dielectric grease to prevent future corrosion, and tighten all connections to the manufacturer’s torque specifications—taking care not to overtighten and damage terminals or strip threads.
Listen for the Solenoid Click
A healthy solenoid produces an audible click when energized and de-energized. The click indicates that the electromagnetic coil is working and pushing the plunger. The absence of clicking suggests electrical problems, while clicking without valve movement points to mechanical issues.
You can use a screwdriver or similar tool as a stethoscope to better hear the clicking sound on noisy equipment. Place the handle against the valve body and position your ear near the other end. This technique amplifies mechanical sounds and helps locate the source.
Pro Tip
Different valve designs produce varying click intensities, with some generating sharp, distinct clicks and others producing softer sounds.
Verify Correct Valve Type
Using the wrong valve specification for your application can lead to reliability issues and premature failure. Pressure ratings, temperature limits, and fluid compatibility must match system requirements. Chemical compatibility becomes critical when handling corrosive or reactive fluids.
Additionally, voltage mismatches cause immediate problems or gradual coil degradation. AC coils connected to DC power sources won’t operate properly, while DC coils on AC power may burn out quickly. Always check voltage type, frequency, and amplitude against valve specifications listed in the manual.
Buy Quality Product
Consult the experienced professionals at Clark Cooper if you have complex valve problems or specialized applications. Working with a reliable solenoid valve company ensures you get technical support and replacement parts when needed.
Remember that safety comes first during any maintenance work. Always de-energize valves and relieve system pressure before beginning service procedures. Proper lockout/tagout procedures protect you and your equipment during maintenance activities.
Leave a Reply